Best Cleaning Methods For Your Home
Spring cleaning is something we all have to do, but that doesn’t mean that we have to look forward to the task. I try and be good at blocking out a week in my calendar months in advance. The whole week with no distractions and a focus on cleaning. That doesn’t mean I don’t groan when I flip the page and see it. This year I decided to prepare early.
I came up with a seven-day plan of attack split between different rooms. I worked so well I’m doing it again in 2017. I thought I would share my cleaning methods and ideas to inspire you maybe to do the same. So, let’s begin with day one.
Day One: The Kitchen

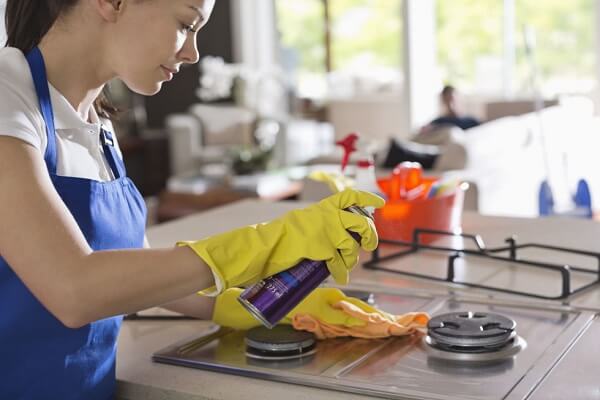
The kitchen is probably the most difficult, but also the one with the greatest sense of achievement attached. It is a good starting point because it sets you nicely for the week by showing what you can achieve. The big appliances – the oven and fridge – are the place to start. Clean the fridge from top to bottom by removing shelves and drawers and defrost the freezer.
Soapy water should be enough here. Get yourself a decent oven cleaner and prepare for a good scrub. Don’t forget the racks while you are at it. Smaller appliances are on the list too. Be honest; the microwave has needed a good clean for a while, hasn’t it? One item I tend to forget with my spring cleaning is the toaster. The outside is easy; it’s the little crumb tray that I miss. From there you can move onto the cupboards, again moving from top to bottom and the counter-tops.
Day Two: The Bathroom
I’ve put the bathroom next to this list of cleaning methods because it is my least favorite. I can scrub away on the high of the day before and get it finished before I’m sick of cleaning. I don’t know why we all shy away from toilet cleaning as it is so simple.
Squirt on the toilet cleaner around the rim, scrub it in, and let it work on its own. It’s the bath and shower that are the difficult parts. They require more elbow grease and specialized products to deal with the drains, shower caddy, soap scum, and other stains.
A good bathroom cleaner will get rid of the pink and black marks and have it sparkling white again. The same goes for the sink. A top tip for dealing with showerheads and faucets is to use and the old toothbrush. Once finished with the big four, I just wipe down the surface and cabinets with disinfectant, and that’s it.
Day 3: The Bedroom

The third day of the week is usually the hump day, right? Well, day three of this spring cleaning regime is a little more laid back. The amount to do in the bedroom depends on how cluttered it is. The most time-consuming element can often be removing and dusting trinkets and ornaments.
Move everything out the room so that you can give the surfaces of dressers and cabinets good dust and clean. Don’t forget to vacuum along the back between the furniture and the wall. This is a magnet for dust, dirt, and cobwebs.
Also take the time to wipe down headboards, bed posts, mirrors, and anything else that requires it. My final tip here to consider the purpose of all the items you replace at the end. A spring clean is a great opportunity to de-clutter a room.
Day 4: Drapes And Blinds
By now you have hit the midpoint in the week, and we switch things up a bit. This isn’t about a room, rather a vital part of every room. The drapes in your bedroom and front room window can pick up dirt, dust, odors, and bugs.
The main problem is that you don’t notice when they are usually kept back all day. It could be enough to go over them with a Hoover and deodorizing spray, but they may need to be machine washed. As for the kitchen and bathroom blinds, careful dusting and a damp cloth should be fine.
The cleaning methods here are quick and simple. This means you also have time for the windows while the blinds and drapes are out the way. Give them a good wipe down with Windex to tackle those smudges.
Day 5: Light Fixtures And Fans

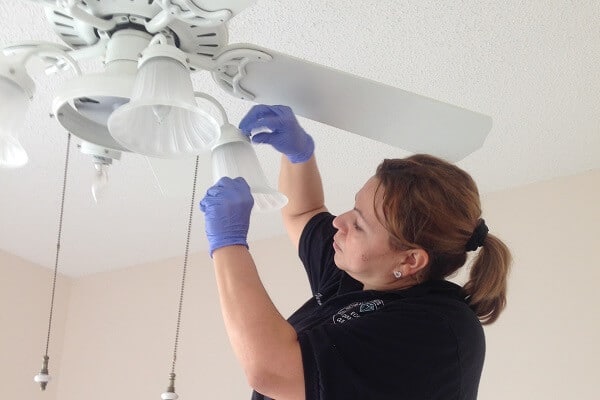
A nice easy one for Friday to prepare for the weekend. In fact, if you have a small apartment and no fans, this is a breeze (no pun intended). You may have overlooked this area, but spring cleaning means cleaning everything.
I find the best tool for these areas is a microfiber cloth – and a ladder to reach up there. If you are lucky, they just need wiping down to get rid of the dirt and dust. However, it doesn’t hurt to check for dead bugs inside or dead bulbs for that matter.
Day 6: The Floors
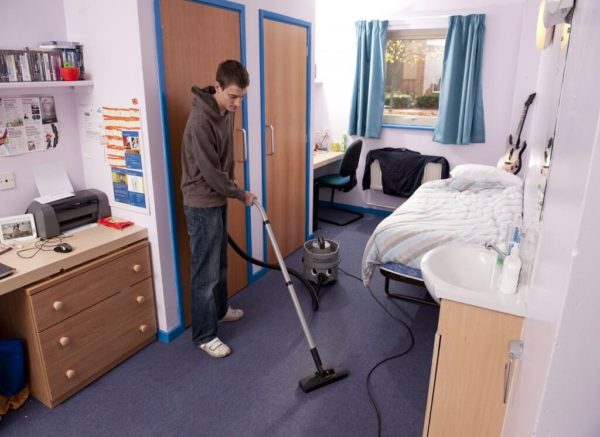
The penultimate day is a tough one for me. However, I know that the end is in sight and can enjoy my work so far. All that dusting and cleaning has probably left the floors in a mess, and that’s why I left them until last. Every room has a carpet or hard floor that needs vacuuming, mopping, and scrubbing. Had deep into the corners and under the furniture.
My best cleaning methods here are those of my trusted robot. Robotic vacuum cleaners are a godsend for dealing with carpets and getting under sofas. They also save me time by dealing with the living room while I’m in the kitchen. Robotic vacuum cleaners may be expensive, but they are worth it long-term.
Day 7: The Porch, Conservatory Or Balcony
Once the inside of the house is complete, you can spend the Sunday on the outside with some sunshine and a cool drink. The furniture and floors of porches, conservatories, and balconies all need spring cleaning too. Wipe down the furniture, use a leaf blower to deal with the debris, machine-wash cushion covers, and clean the glass.
Seven Days To A Cleaner & Nicer Home
Spring cleaning is tough, but it helps to break it down into manageable chunks like this. Instead of having one big end goal, you have lots of mini achievements along the way. This approach and some top cleaning methods – like the right products and robotic vacuum cleaners – can help. I promise you will stay motivated and on target and achieve a brilliant clean.

